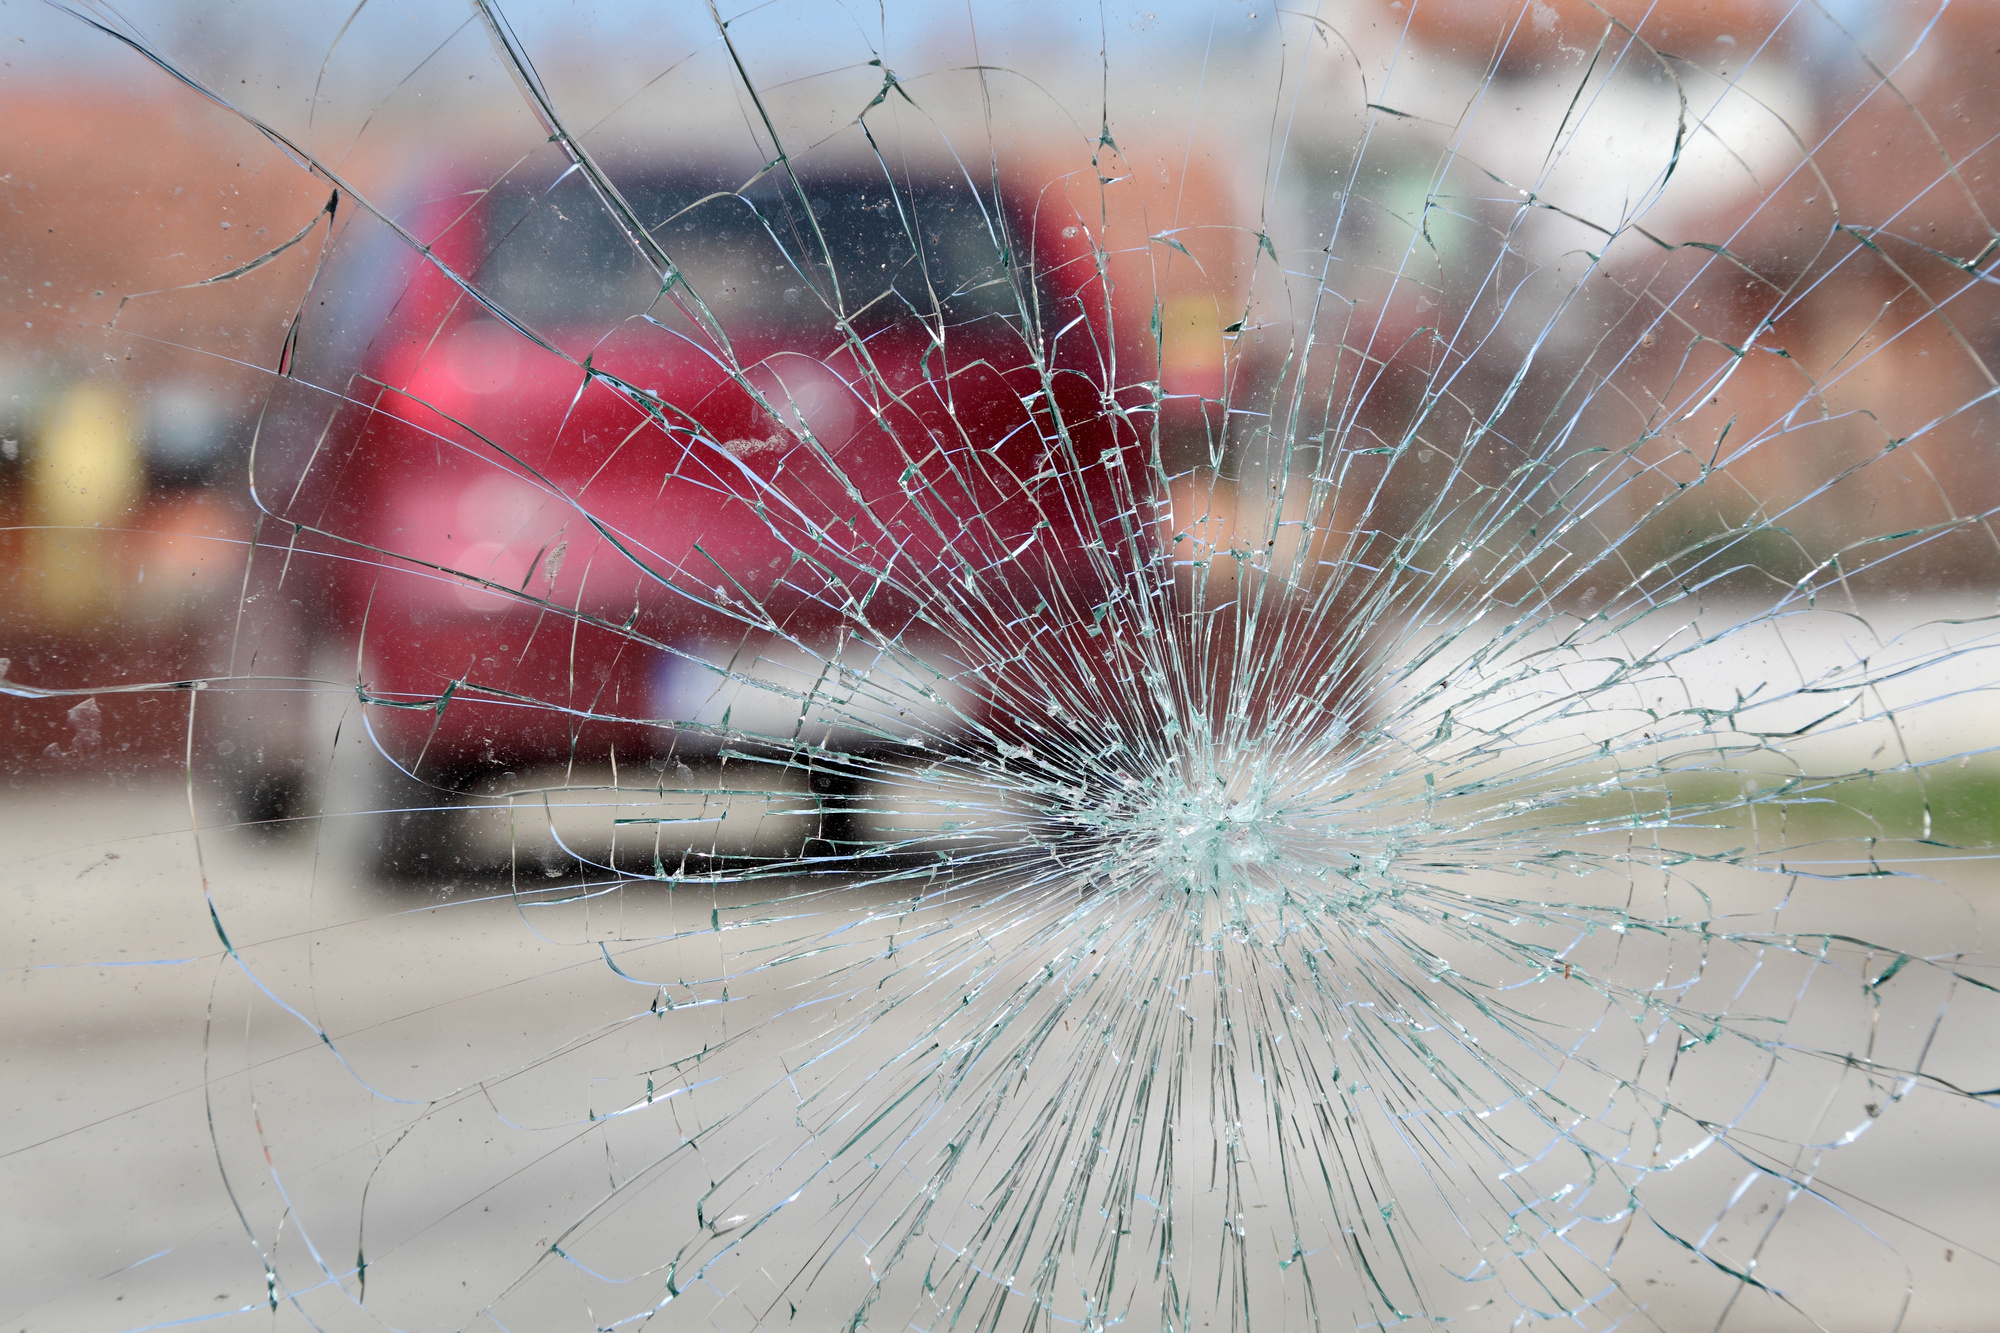
A small chip can quickly transform into a fully cracked windshield in no time.
This situation leads to the tip of the iceberg when it comes to the steps of learning how to fix a cracked windshield. Perhaps the most important part of the process is getting out ahead of it when you first notice any hairline fractures or chips.
Years ago, a cracked windshield meant a full replacement. Now, we have the ability to make repairs without breaking the bank. Windshield replacement kits are cost-effective and can be found anywhere online.
So what are your options when it comes to fixing a cracked windshield? Let’s cover three simple steps to fixing a cracked windshield with one of the easiest to use methods, a windshield kit.
1. Prep the Cracked Windshield
Once you’ve purchased your windshield kit, you’ll need to prepare the area for the fix.
First thing’s first, get your vehicle out of the sun. Direct sunlight will dry your kit rapidly before you’re able to prep it correctly.
You’ll want to use a razor blade and scrape the cracked glass surface before you buff down and clean the area of any debris. You may not see it with the naked eye, but a cracked windshield will have plenty of glass shards you need to get rid of.
Remove the mount and suction cups from the repair kid and place one on the crack. Once it’s placed, the resin tool’s widest white tube will need to be screwed into the center of the suction cup tool.
2. Apply the Resin
The resin application is the most important part when fixing a windshield.
Resin is a liquid solution that hardens and “replaces” the broken pieces of glass in the crack. The resin tip should be inserted over the white tube aligned in the step above and squeezed until about six drops come out.
The resin needs some help getting into the crack. That’s where the plunger comes into play. When pressing down on the plunger, pressure should force the resin into the necessary area.
Make sure you’re keeping an eye out for bubbles so the resin doesn’t fail.
3. Let the Plastic Rest
Once you have the resin in place, unscrew the tube from the support.
There’s one final piece to the puzzle — the plastic strip.
One drop of resin should be dripped onto the affected area and covered with one plastic strip. You’ll want to move the car into an area with sun and let this solution dry for about 10 minutes.
Once dry, remove the strip and use the razor blade to scrape and remove any excess resin. Be careful to not scratch the glass itself during the process.
A cracked windshield can happen at any time. Hail, rocks, other sharp objects are the common causes of a cracked windshield. When this happens there are dozens of options you can read more about.
Invest in Your Vehicle
A cracked windshield can put a real damper on your vehicle and mood.
Investing time in your vehicle is important to it running smoothly and performing. So when it comes to the information about your car, who should you trust?
That’s where we come in. Our website is full of helpful information from car repair to selling, and new technology. We’re working to update our content daily.
Keep reading for more helpful ways to invest in your vehicle.